Sorting New Shanks
- Kate Redding, RPT
- Jan 23, 2021
- 5 min read
Updated: Mar 20, 2025
By Kate Redding, RPT
Replacing old piano shanks with new ones can feel like an overwhelming process, but it doesn’t have to be. Taking careful measurements is an essential factor in selection since even small differences in geometry can affect the piano’s action. When in doubt, reach out to the supplier who can recommend a part based on the make, model, and age of the piano.
Required Tools
Tension gram gauge
Digital caliper or a good quality pocket ruler graduated in millimeters
A sizing solution of 10:1 denatured alcohol mixed with water
A fine-tip paintbrush or thin gauge hypo oiler to apply the sizing solution
Center pinning kit
Digital gram scale for weighing shanks (optional)
Measure and Compare
Many suppliers do an excellent job photographing the parts they offer in their printed catalogs. For instance, the Schaff catalog provides full-size images that allow the technician to compare the old part to several replacements. Ordering the wrong parts is expensive and adds to the project time. Choosing the correct parts will help you complete the project on time and budget.
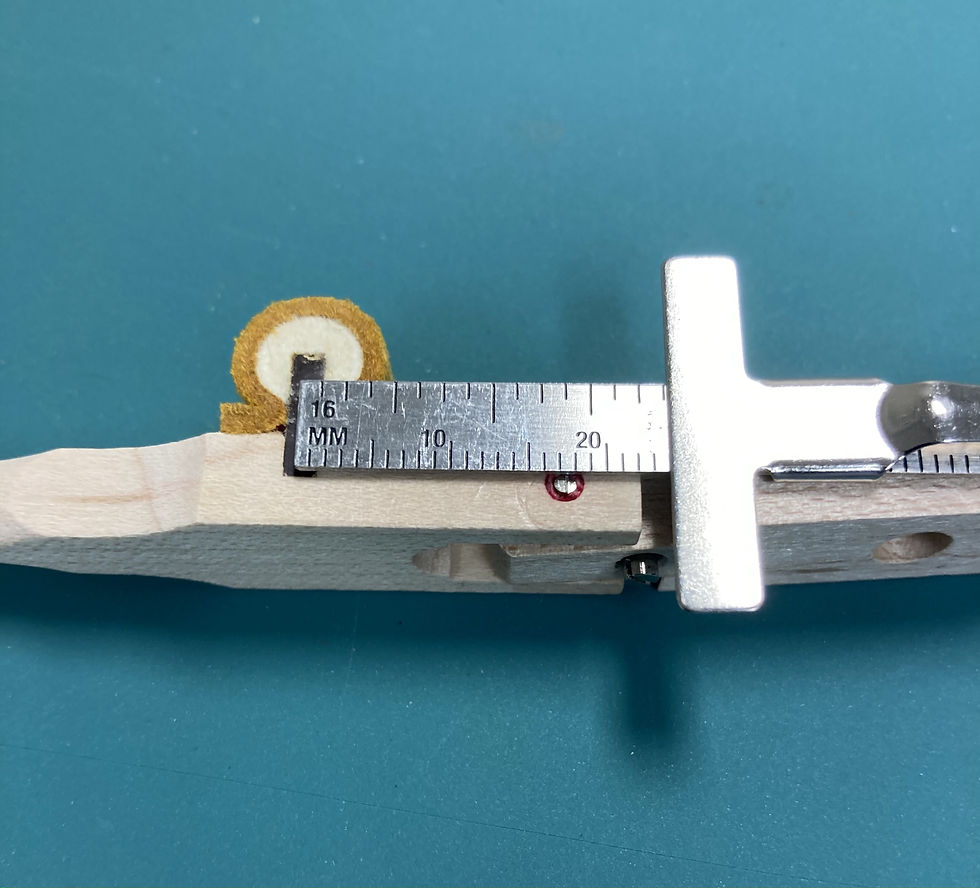
Some companies, including Wessel, Nickle & Gross, and Renner, sell sample kits to assist with part selection and mock-up. A sample kit can easily be created if the supplier allows single part purchases. I encourage you to take time to record as much information as possible in this early stage. In the case of grand shanks, measurements should include:

the width of the flange.
the distance from the center pin to the middle of the flange screw hole.
the diameter and width of the knuckle.
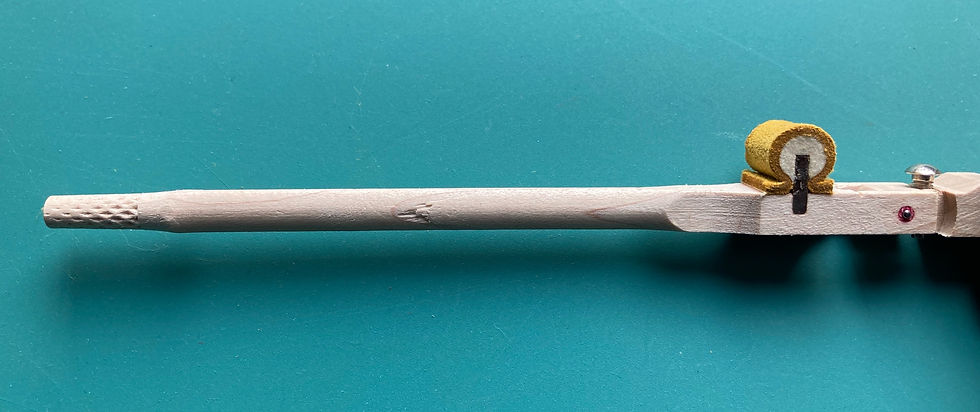
the diameter of the shank.
the distance between knuckle molding and the center of the center pin.
the distance between the knuckle and the flange screw center.
Mock-Up With Samples
Before removing parts from the action, choose a note or two from each section of the piano to use as guides for regulation. Take time to install and regulate new parts (perhaps three or four, one in each piano action area) next to the original samples to verify good fit and function. You may notice that new leather and felt have a different dimension, shape, and texture than worn material. Spend time refining the regulation of the new samples in each section.
When Parts Arrive
Before opening a box of new parts, crosscheck the stock number to verify you received the ones you ordered. Don’t wait to do this since many suppliers will not accept returned parts after a specific time.
Sorting
I will describe a method for sorting new shanks out of the box, but this method can guide your sorting of other new parts. This procedure could also serve as an outline for repinning and assessing an entire set or a section of existing parts.
Is there an advantage to taking time to sort new parts? Aren’t they supposed to be perfect right out of the box? Production is typically very accurate. Still, the point of inspecting any new set is to select the best from the group and to correct, as necessary, the friction of the flange.
Measure Friction
A useful parameter for friction on the hammer shank flange is between 3 - 5 grams. Technicians use many tests to assess friction without a gram gauge (see Other Ways To Test Center Pin Friction, M. Igrec, Pianos Inside Out, page.144), but I prefer measuring with a gram gauge when I can.
Develop a method that allows you to work quickly with both hands, concentrating on one task at a time, working through the set. For instance, measure all of the flanges with your gram gauge, separating outliers into two groups: friction too high and friction too low.
Imagine how many times the hammer moves up and down over the life of the piano. The hammer flange supports the shank as it travels along its axis. Inspect the shanks and flanges for cracks, deformities, and inconsistencies in the bushing, screw hole, knuckle/ roller, etc. A puckered bushing must be rebushed. If necessary, strategically install parts with anomalies in the lowest bass and highest treble. It’s unusual to find problems in a set of new parts, but irregularities do occur!


With the shanks sorted into high and low friction piles, treat all high friction flanges with a minimal amount of 10:1 denatured alcohol + water solution applied to each side of the bushing with a fine paintbrush or thin gauged hypo-oiler. The sizing solution will immediately increase friction. Set these parts aside and allow them to dry. Use a hair drier (not a heat gun) to blow warm air across the bushing and speed the drying time. In my experience, this treatment will bring friction down by about two grams.
An appropriate amount of solution will penetrate the bushing without saturating the wood and typically dries in less than an hour. If you apply too much liquid and the wood gets wet, allow the part to dry overnight.
Next, work on the low-friction shanks. Any part with less than 3 grams should be repinned. Carefully repin, exercise the flange back and forth to simulate play and re-measure with your gram gauge. If the friction is too high after repinning, treat both sides of the bushing with a drop of sizing solution, measuring once the bushing dries. All this ensures consistently firm and free action centers in all parts before installation.
A Few Observations About Center Pins
Steinway uses a center pin with smooth, rounded ends and no point. The pin has a recess in the middle where it fits into the birds-eye. Why might that be? I suspect it has something to do with keeping the pin snug, but it's never been explained to me; it’s just an observation.
Wessel, Nickle & Gross center pins are made of German Silver. Read more about them here.
Slender Treble Shanks and Mass

Some grand hammer shank sets are graduating in the top treble. That means the shanks in the top section have less mass. It’s thought that less weighty shanks help tone and projection in the treble where the hammers are small and the string lengths are short. One method for improving a choked note’s tone is to remove mass from the shank or the hammer’s tail.
If the shanks are un-graduated, you might decide to weigh them individually on a digital gram scale and use the lightest ones in the piano’s top section. An alternative method of sorting that doesn’t require a scale is listening to the pitch each shank creates when allowed to fall on a table or workbench.
Once the shanks are sorted, you are ready to install and regulate!
Time to Complete
The total sorting time is about 1 hour: 20 minutes to measure all flanges, 5 minutes to treat flanges with high friction, 10 minutes to repin those with low friction, and 20 minutes to weigh shanks.


Comments